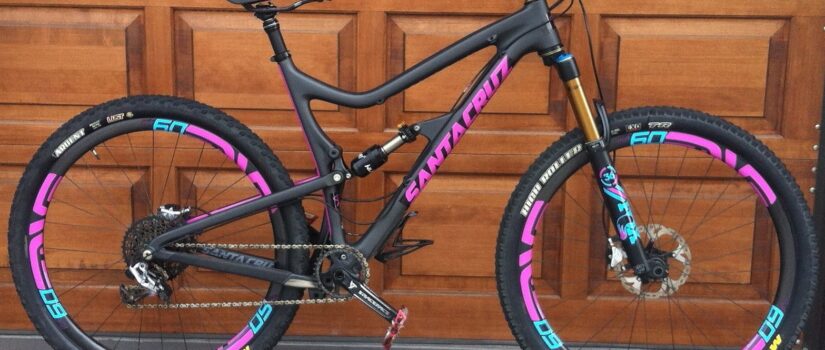
How to Apply Graphics and Bike Decal on Your Bike
Everyone loves their bike and it is unlikely to find someone who will not like to accessorize and modify their road beasts using Bike Decal and stickers. How cool will a graphic kit will look on your bike, right? Many people, especially the riders, prefer to get some sort of decals and graphics installed on their bikes as they cannot stand the fact that their.
Bikes look ordinary. Others might do it to hide any dent or scratches from their automobile. So, if you too are looking for similar solutions or graphic installations then read this quick, professional guide on how you can apply and install the graphic kits on your bike:
Before you start
Inspect whether the plastic of the graphic kit you purchased. It looks defective, scuffed or scratched then you should get it replaced. Before you apply the graphics to your bike, you need to make sure that the bought plastic is in good condition.
For installation you will need:
• – adhesive paper tape;
• – paper knife / scissors;
• – hair dryer or heat gun;
• – degreasing agent or alcohol-water mixture;
• – squeegee (optional);
Now wash your hands as clean hands will help you prepare surface better and also keep the application area cleaners. If your hands have any dirt or oil over them then your graphics are likely to loose their stickiness.
Now you need to prepare the surface. If your bike has some pre-installed graphics or tattoos then remove it completely. You can use a hair dryer or heat gun warm up the old graphic and then clean the surface through a degreasing agent. You must not leave any sort of glue residues on the surface. Before you apply the new sticker, the bike material should be warmed up well.
Apply the Graphic:
Now place the Decal graphics over the spot you want to install them and tape down the Bike Decal on it. This will help to hold it in place. Use as much tape as you want to be comfortable. Now peel off the backing paper from the background of the decal to till its middle. Cut the peeled part and check the alignment of the decal, whether it is as you desired or not!
Place one of your fingers on one part of the graphics and work in small sections, using your thumb or squeegee. This helps to apply uniform pressure and remove any sort of bubbled and wrinkles on the Decal graphics. Working from center out is an easy way to get rid of bubbles, peeling out or any other deformities. If bubbles still persist, you can try popping them through a fine needle or pin. Else keep bringing the bubbles onto the edges and repeat the steps.

